We’ve been wading through a bunch of details for the last several weeks, but they’ve now coalesced into things we can describe. We have a lot to talk about.
Electronics
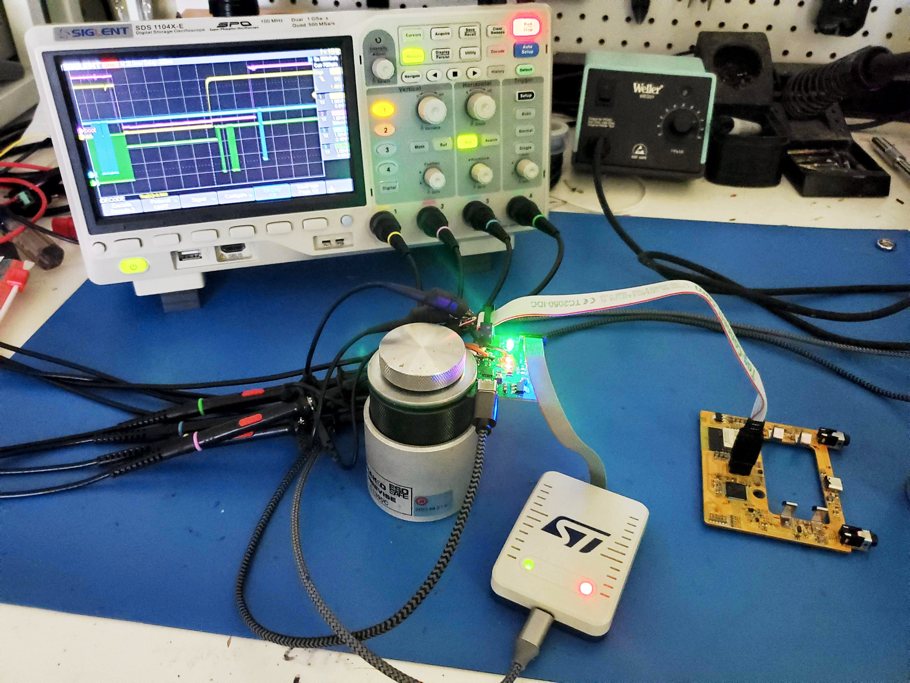
A few little bugs in that yellow board, some due to hand assembly of parts which will be machine assembled in production. Mostly mechanical placement, though: The battery clips were too close, taking too much strain when batteries are inserted. The leads on the port connectors stuck out too much to fit in the case, so it will just require clipping in production.
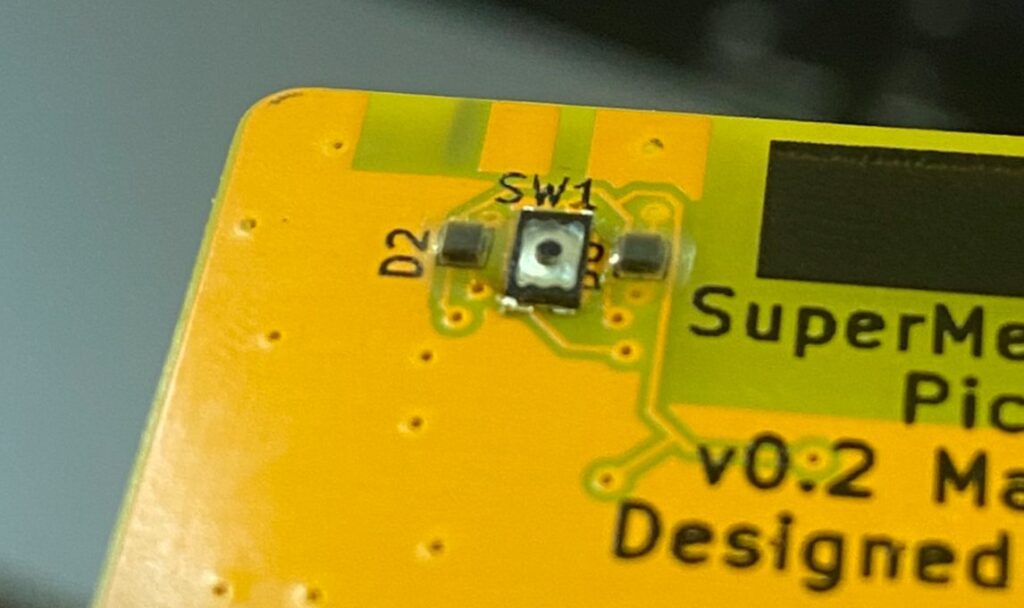
And the LEDs are the size of grains of sand. Awful to work with by hand, too small to have proper part markings even under a microscope. They don’t always work right on the proto boards because they’re misplaced or melted from the soldering iron, things that won’t be a problem with automated assembly. All in all, the electrical design is solid and will be ready for production once Jeremy moves a few things around.
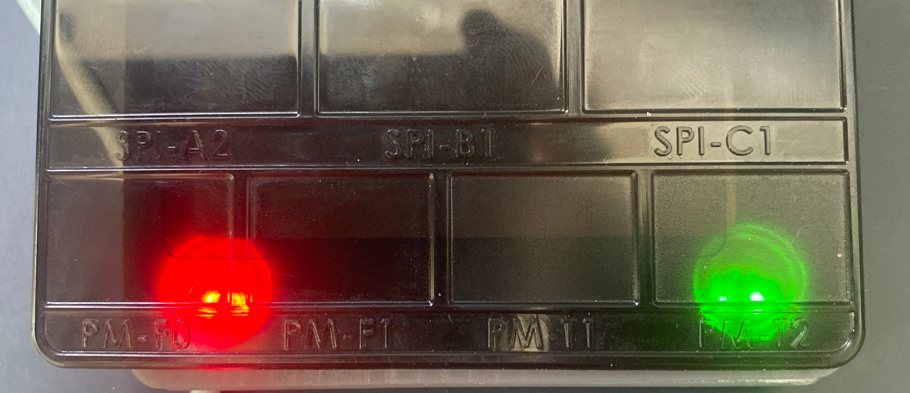
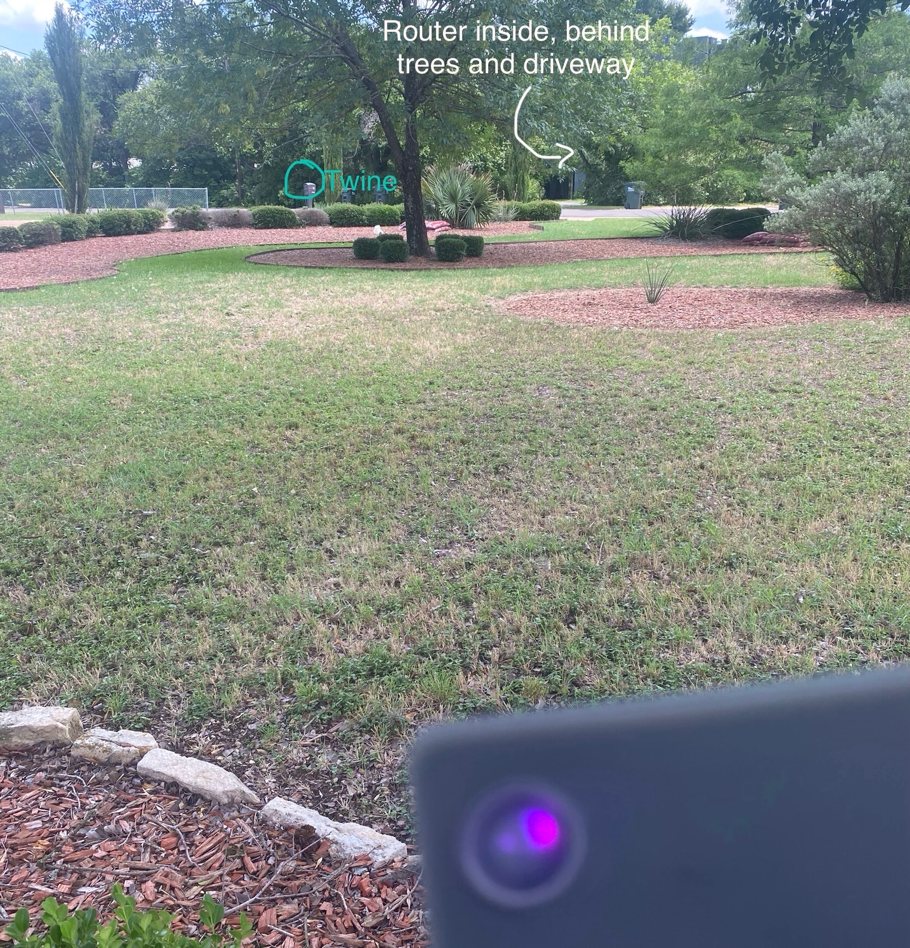
Someone in the forum mentioned WiFi range, as their Twine couldn’t go far enough for their beehive. Pickup’s WiFi 802.11n 2.5GHz has about twice the range of Twine’s 802.11g in theory, and that was borne out by impromptu testing. I walked outside away from my inside router with a prototype until the LED changed from the blue “connected” to green “searching”. Outside to an inside router, 46 paces compared to 23 paces for Twine.
Firmware
The brain transplant has been successful. Jeremy’s got the new ST chip up and talking with sensors and the radio, so back to where he was with the original chip. It was a big wrench in our schedule, but this is back on track and he’s plowing ahead now.
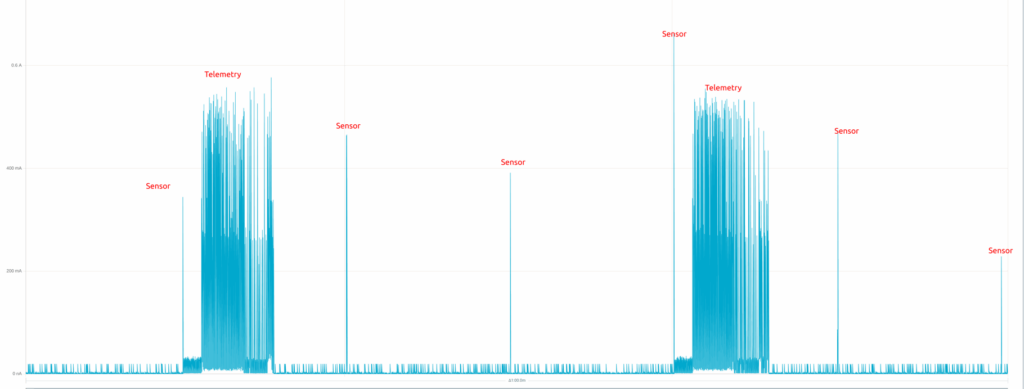
One of the things that Jeremy’s refining is communication. Pickup has two modes of operation. In fast mode, it’ll report data in real time, up to 10 times a second. That’s useful for debugging, but it would kill the batteries quickly. The rate at which Pickup reports data back to you is the largest factor in battery life, as the WiFi radio is power hungry.
So for normal operation, Pickup buffers data and transmits it less frequently. Exactly how long is up to you, but in addition to regular intervals, you’ll also be able to set rules to transmit immediately when a condition is met, no different from Twine. This will let you get timely alerts.
Jeremy did have an aggravating few days chasing down a rare bug between the microcontroller and the radio module. If you want to nerd out, read about his hardware debugging process.
Mechanicals
We hit a milestone here. I sent a final design candidate back to our molding partner and got an updated quote and moldability report, and TL;DR, we’ve put the money down to get the molds started.
Mold
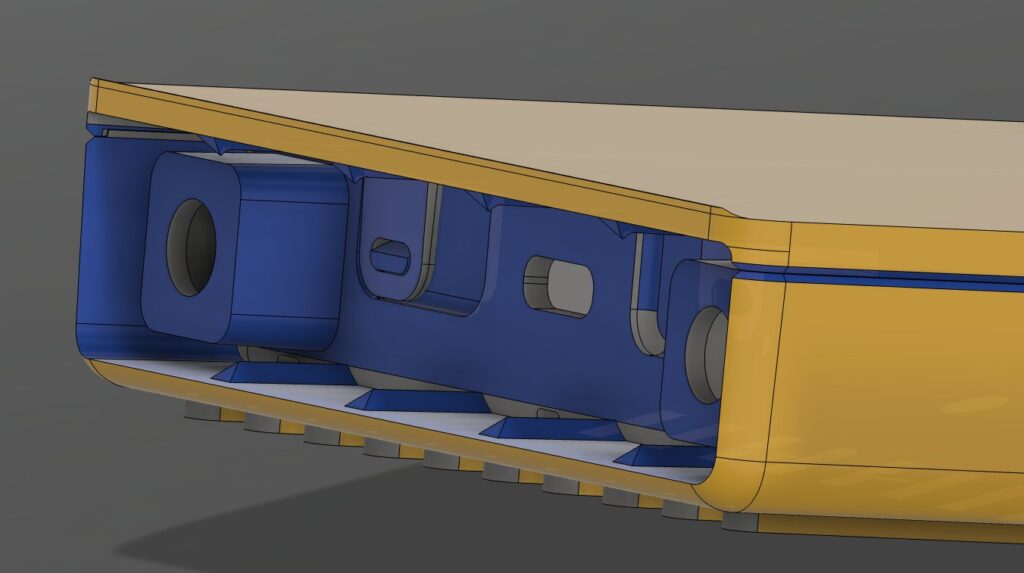
As the design has been refined since our first budgetary quote, it’s gotten more complex. Molds come apart in halves, and if the molded parts don’t pop out easily, you have to add extra pieces to the molds that slide away to allow the part to eject, and that adds cost. So a lot of my work was keeping the price down even as successive prototypes told me I needed to add more details.
The cost went up, and now it’s come down, though not quite where our initial quote was. The mold engineer “went over everything with a fine toothed comb” to get our costs down, and I’m content. So we’ve made a five-digit down payment to get the tooling started. 🥳😬
While the metal is on its way, we still have time to make their requested changes. The moldability report mostly covers two areas: correct wall thickness in various areas so that molten plastic flows at the right speed to avoid weak points and cosmetic flaws, and adding enough draft (slight angles to walls) and eliminating any undercuts to allow the parts to pop out as intended.
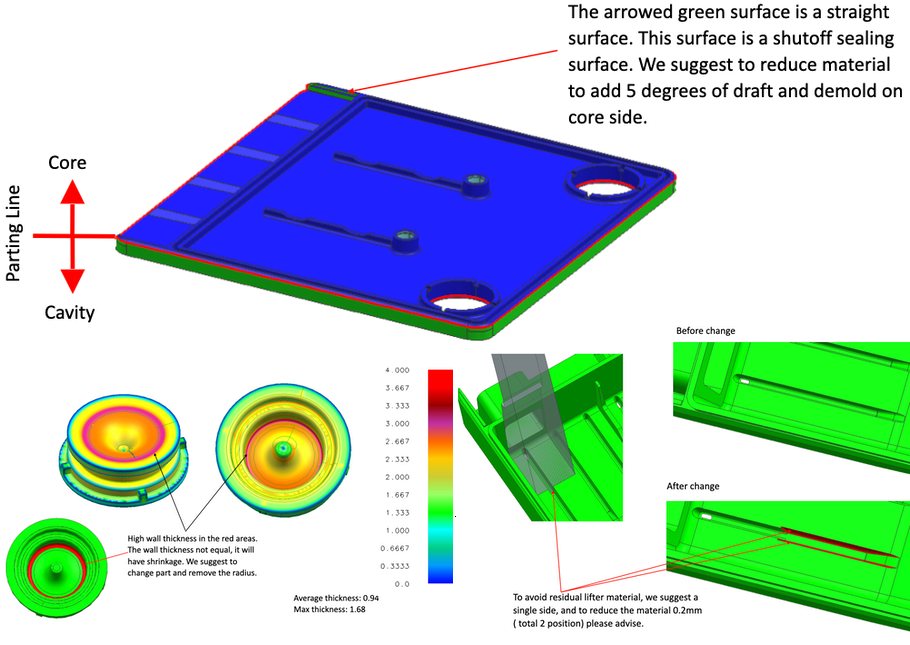
Unlike Jeremy’s bug hunt, the mold engineer gave me the list of adjustments I have to make, but it’s still precision work with imperfect tools (in my case, CAD software). I already had many of these on my radar, so I had already addressed half the issues by the time they gave me the report. I have a few more to go through so that I’ll have a production-ready design to give the mold maker by the time they get the tool steel they’ve bought with our down payment.
But through this our molding partner in San Antonio has been patient (I say, having testing the patience of several). We’re going with a local molder because it makes adjustments and future experimentation easier. They’ve been more tolerant than any other molder I’ve ever talked to, and I’m looking forward to building that relationship.
It’s neat to see that our designed product requires a mold that is itself designed specifically for us. It’s tool design all the way down, keeping problem solvers employed.
Prints
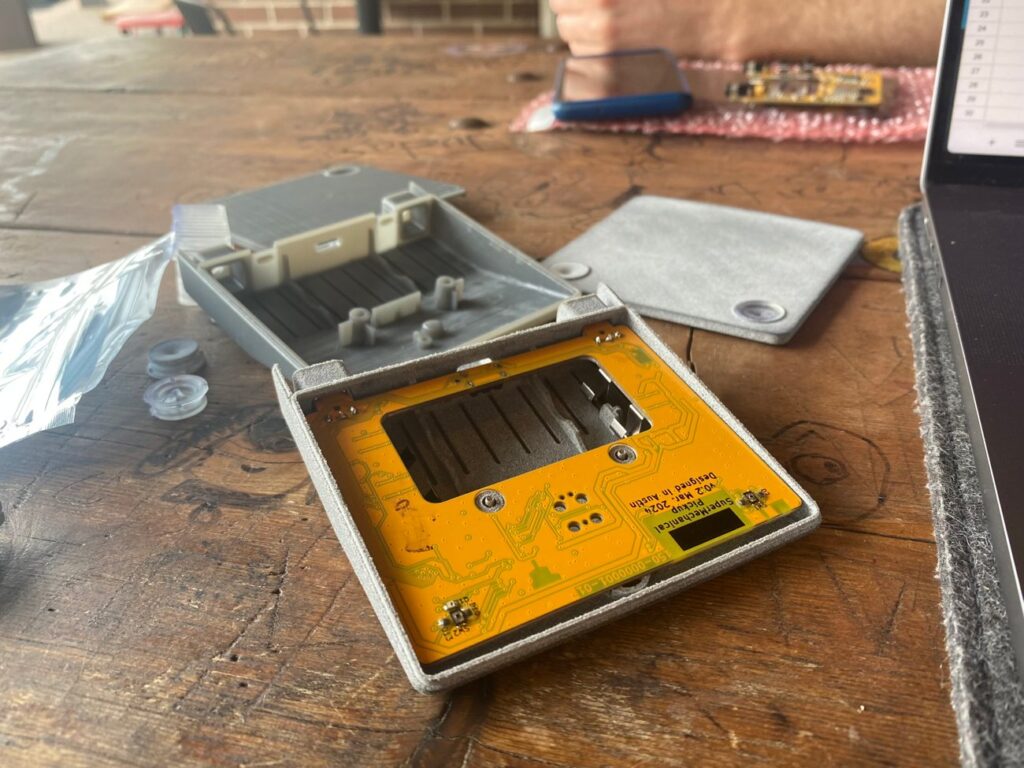
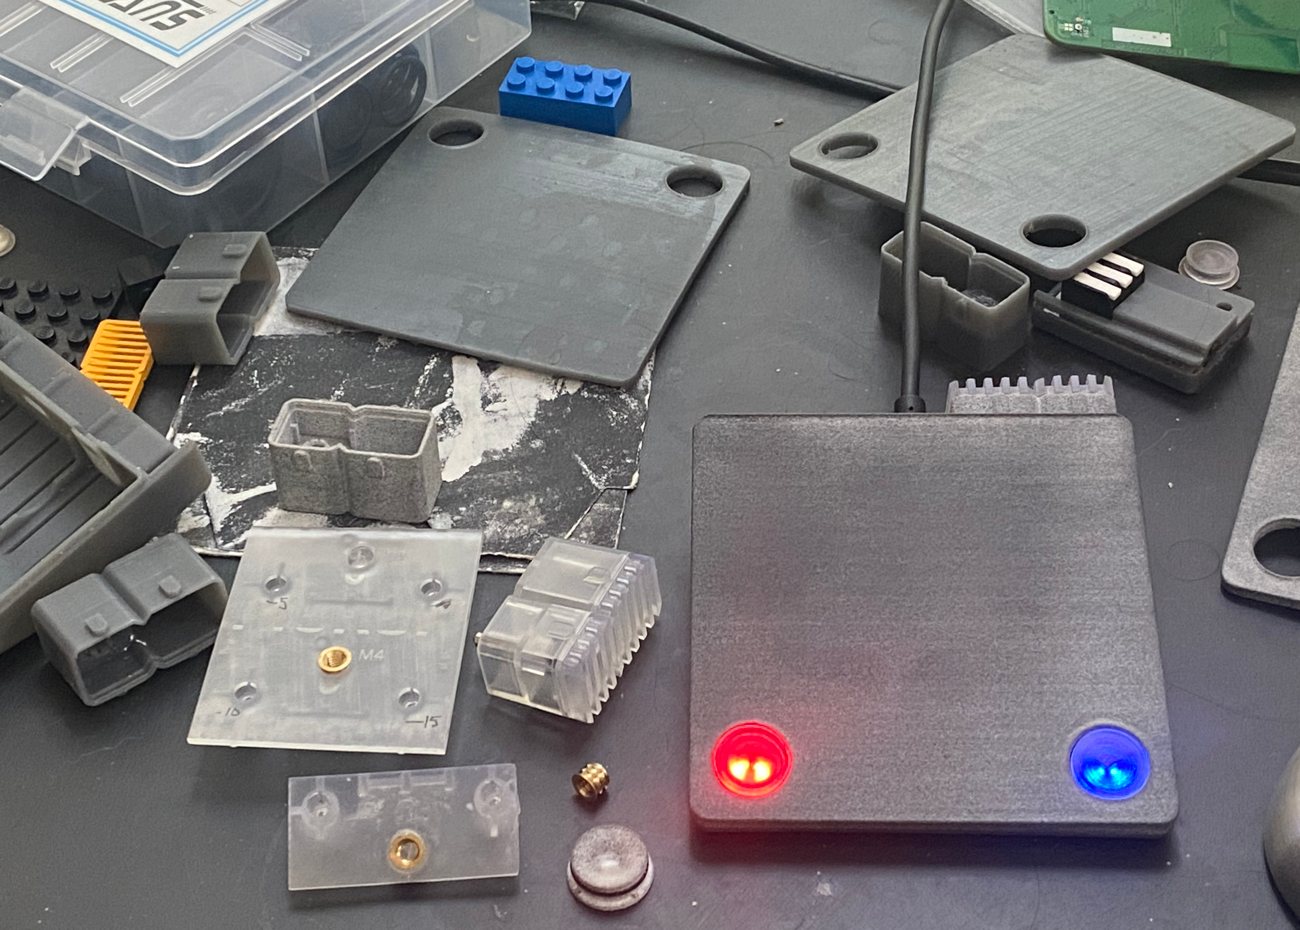
While that conversation has been going on, I’ve also got more printed parts in to pick final dimensions for some features: snaps to hold the cover on, captive screws, adjustments to avoid the buttons sticking, light diffusion through those buttons, and more. First batch was in what I was hoping was a stiffer material similar to the production material, but was pretty flexible like the other SLS prints. Nevertheless I ran through all the little fit checkboxes and adjusted.
I had also ordered some parts in a high quality SLA (a more professional version of the resin printers you might get for miniatures). These were in a nice stiff polycarbonate-like material and more accurate than I’ve been able to get from the Formlabs printer, so this week I sent out for a final complete set of prints I’ll get next week. This was fairly expensive but still a good savings over the final PolyJet parts I was planning, so I’ll save those extra hundreds for tool changes instead.
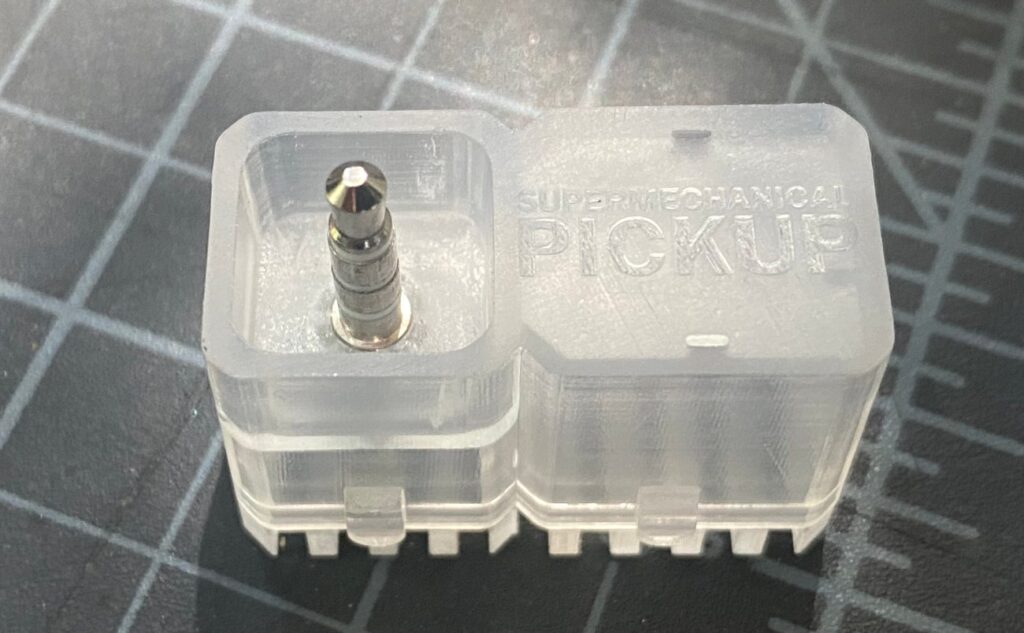
About tool changes: we can make adjustments to the tooling after it’s cut, but only removing material (and therefore adding plastic to the final part). Tool-safe design is sizing the important mechanical interfaces on the small side so that if test parts are too loose, our manufacturer can shave the mold down in those places (which means more plastic gets added when injected).
If the timing of all these things holds, the mold maker can start cutting next week, and first parts can be ready 6 weeks after that. That’s several weeks fewer than I had understood—nice to win some time back. Taking a road trip to San Antonio to watch those first parts come out and nervously assemble them!
Software
I’m making progress on software now that the mechanicals have been largely handed off. I don’t have much fun stuff to report—it’s a lot of infrastructure right now. But here’s a GIF of live sensor data from the proto board sent via MQTT in the browser.

Reading
If you’re as fascinated by the logistics of how things get made as I am, I have two reading recommendations.
- Scope of Work is a newsletter that explores the wondrous practices of manufacturing and infrastructure. I happily pay to subscribe, though there’s plenty for free. It was started by buddy and fellow Kickstarterer Spencer Wright.
- I had tacos with Christopher Mims once. The WSJ tech columnist ranges from the deep dive to the big picture better than just about anyone else. His book Arriving Today will give you a better understanding of the global supply chain that we’re all reliant on, turning what should be a dry subject into a series of excellent human stories.
Forum
To fill in the gaps between these comprehensive updates, we’ve started a development snapshots thread in the forum. See you there, or here next time.
Crossposting from Pickup Kickstarter update #7
