There’s a couple of terms people use to describe that final sample product phase before they mass produce. In hardware, you might call it the production verification test (PVT), or first articles. For Pickup we’ve borrowed a term from the music industry. The golden master is that last perfect pressing of a record or CD to confirm before you mass produce your recording. Why am I wondering right now how often a producer had to change something after hearing the golden master? No reason.
Manufacturing test system
Jeremy’s been working with our assembler on the final production run. They’ve started by doing the whole process with 20 boards, testing the last few changes to the board, the mass production process (as opposed to the small batch prototypes that typically have more hand assembly), and the manufacturing test rig that Jeremy built.
A couple issues cropped up with the test system that they’ve worked through. The test system is designed to send results back to us automatically. Jeremy set it up on a laptop that he sent to the assembler so that they only had to connect it to the network, but the network connection seems to be broken. So for now, they’re emailing results logs to Jeremy.
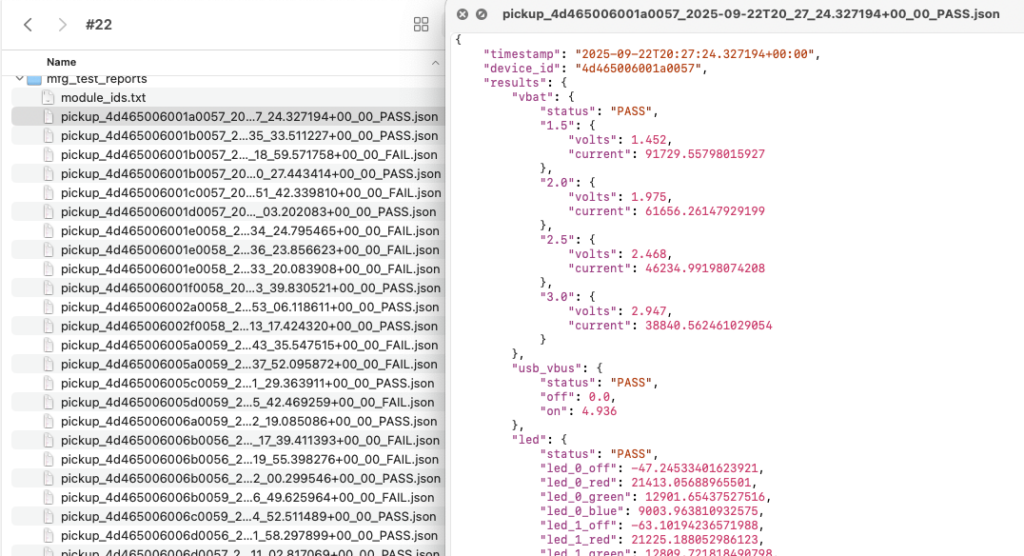
The first batch of reports showed a bunch of zeros. But it was unlikely that everything would fail this hard. Jeremy suspected bugs in the test system, so he got logs and video of the test from them, found those bugs and fixed them. Ideality meets reality!
The test reports do get stored on the boards as well, so there is a fallback, but that’s only useful for the odd unit. We’re not going to risk running a whole batch and get data only after they leave the assembler’s purview.
Circuitboards
Once we started getting test reports, we moved onto the next problem.
The microphone that’s used for the sound sensor (it can’t record audio—it only registers loudness) is failing in tests about half the time. The mic worked on the first 50 prototype boards they sent us, so there’s some kink in the process.
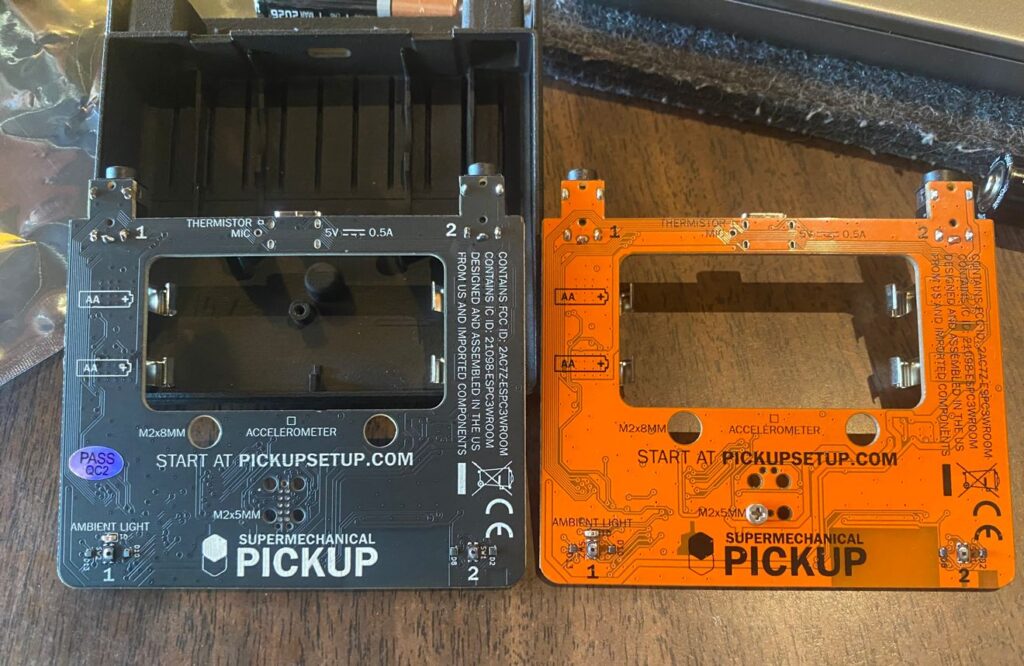
Jeremy had them send 3 boards that failed and 3 that passed to investigate further, suspecting an assembly error or maybe a wrong part. (The 20 boards they’re starting with are black because they didn’t have the custom orange ready to go.)
Only one of the three fails was actually reporting a mic failure. The others were caused by another glitch in the test system, so have a few more things to patch there.
For that one true fail, Jeremy found that he had made a mistake in the fabrication instructions. The ground pad is a through hole for the microphone to pick up sound through its bottom. It should have been set to non-plated, but it was set to be plated, like you might if you were making an electrical connection on both sides of the board. That plating wicks away solder from the microphone side, making for a poor electrical connection.

The few boards that are failing can be reworked (i.e. fixed), but more importantly, the fix for the main production run is minimally disruptive. Jeremy sent a corrected file to the assembler so assuming we find no other issues in testing this batch, production will proceed.
This experience, while stressful, validates our process. Test systems are not optional and doing multiple build tests before full production is useful.
Cases
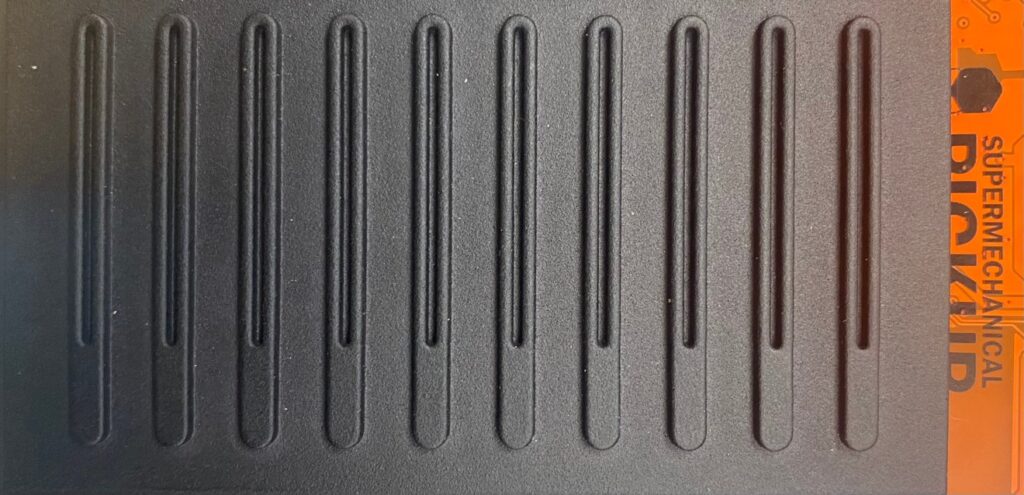
I got production samples from the printer. Great surface finish — these are not your parents’ 3D prints. But like Jeremy, I got caught by a last-minute issue: variation between parts on some critical dimensions, which can impact how the parts fit together.
Much of this can be ascribed to the move from injection molding to additive printing. The parts were originally designed for injection molding precision and tolerances, and you can usually expect an injection-molded part to be reproduced reliably with variation of ±.1 mm or less for smaller details.
I’ve found that multi-jet fusion is the best of the commercially viable additive processes, and while it’s impressively sharp in detail and good at reproducing difficult parts, it has tolerances around ±.3mm. That’s tricky to account for in smaller, more detailed parts. And some of the variables that affect this — part orientation, feature dimensions, and exact material — are either new or different from injection molding, so a lot of my feel for it has to be relearned.
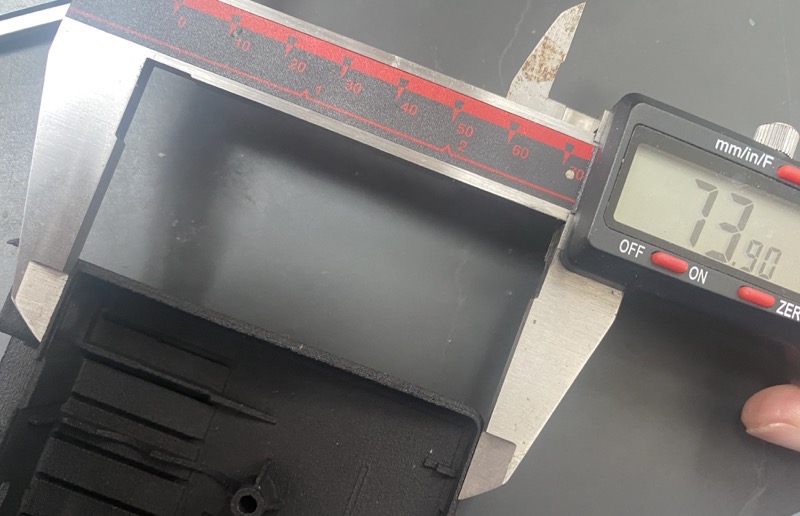
I had to sit and think, theorize and measure across the printed parts I have, and then give my mind a break from it before diving back in several times. I knew I was seeing the variation, yeah, but coming up with a simple and effective solution was the bigger part of it. If I changed too much, we’d have to commit to several more cycles of prototyping/testing.
It mostly comes down to shrinking the features that fit together. That leaves more room for per-part variation without making the fit too tight. I do have to balance this against loosening the fit too much.
I’ve made some very minor adjustments only in the top part, along with engineering notes to the manufacturer (printer?) so that they can keep an eye on dimensions that are slipping outside of the promised tolerance. If they’re good with that, we should be back on track.
A big part of manufacturing is building trusting relationships with your partners and processes. I didn’t want to have to build a new relationship and learn a new manufacturing process, but adding this to our toolbox is going to make us more nimble in the future. It’s at least been enjoyable having you along to share our learnings with.
In additive manufacturing, less is less
Something I appreciated when making these tweaks to the top case part — I’m subtracting material. That’s preferable here because 3D printed parts are priced in terms of material volume and (usually related) print time. But subtracting material is way, way more of a problem if I was doing this with the traditional injection molded plastic process.
Remember, with injection molded parts, you first cut the negative into expensive tool metal. That means that if you have changes, it’s not too hard to carve away a little more metal, and a bigger cavity means a bigger part. Such changes are called tool-safe.
But if you have to take away material from the part — in this case, I’m trying to get a better fit on parts that are too tight — then you need to add material to the mold. Less (plastic) is more (tool steel). That is not trivial. I haven’t actually had to do it myself, but it’s much more expensive than removing material.
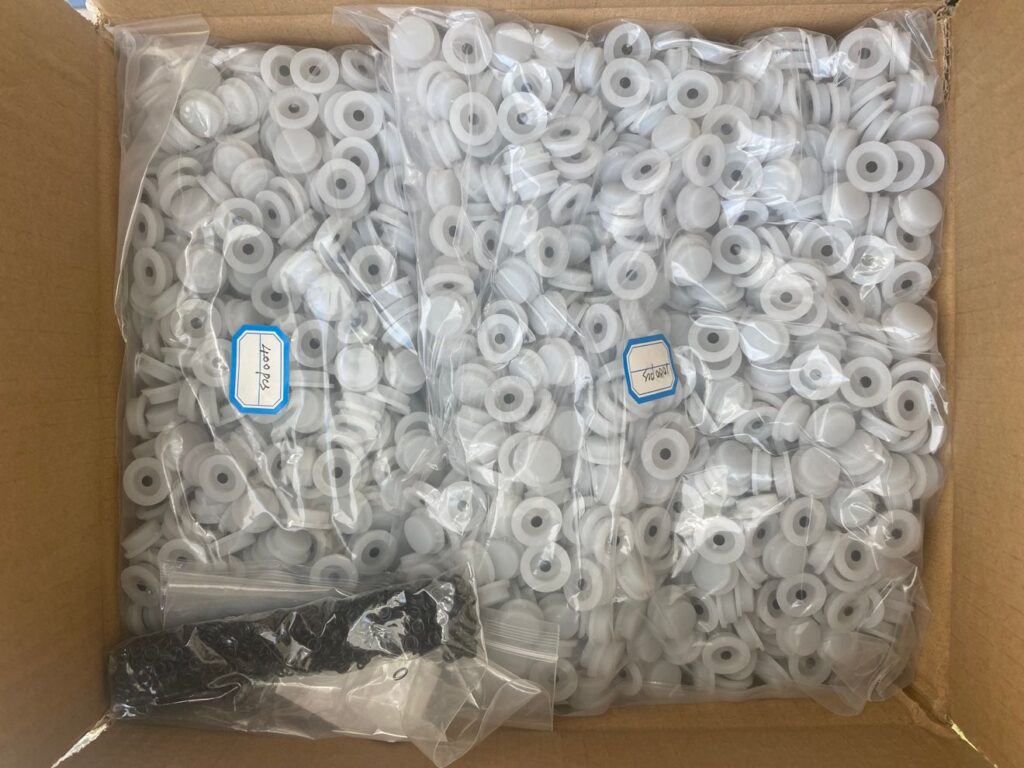
On the other hand, the custom buttons are done. Here’s a big box of them.
We have a couple more components to bring in, slowed down a little this month by the Spring Festival, aka Chinese New Year. But hopefully we’ll have everything we need by the end of March.
—John
Crossposted from Pickup Kickstarter update #22